Build a Coffee Table That Locks Together Beautifully

New woodworkers can achieve strong, handsome results with simple joinery. Today we dive into beginner-friendly joinery techniques for coffee table builds, focusing on accuracy, repeatable setups, and smart glue strategies. Expect clear steps, practical mistakes to avoid, and encouragement rooted in real shop experience you can apply immediately.

Why Grain Direction Matters

Glue bonds thrive on long-grain surfaces, but fail quickly on end grain without reinforcement. When joining legs and aprons, orient faces so fibers meet lengthwise, increasing strength dramatically. This single awareness prevents wobbles, reduces failures, and makes your finish work feel instantly more professional.

Adhesive Confidence: PVA, Hide, and Open Times

Choose a predictable PVA for most builds, noting open time to avoid rushed assemblies. Liquid hide glue offers reversibility and kinder cleanup for slower learners. Test squeeze-out on scrap, track temperature effects, and keep clamps ready so alignment stays controlled instead of chaotic.

Designing Against Racking and Sag

Coffee tables endure feet, stacks of books, and board games tugging at corners. Plan aprons, stretchers, and reasonable spans that limit flex. A lower shelf or cross-stretcher increases stiffness, making even modest joinery feel surprisingly robust during real-world living-room adventures.

Pocket Holes Done Right

Pocket screws shine for quick aprons-to-legs connections and hidden reinforcement under tabletops. Success depends on consistent drilling depth, face orientation, and firm clamping. We’ll reveal smart layout tricks, hole-hiding strategies, and ways to avoid splitting or stripping when driving fasteners into hardwoods.
Direct pocket holes toward the inside of aprons, then mask with the shelf or orient toward the less visible table end. A simple plug cutter or store-bought plugs disappear under finish, keeping visual surfaces sleek while preserving quick assembly speed and beginner-friendly alignment.
Use the manufacturer’s chart for screw length, stepping shorter in dense maple to prevent blowouts. Keep the driver aligned with the pilot angle, and reduce torque near seating. Wax threads sparingly to lower friction and preserve a firm clamp without crushing fibers.

Dowels and Simple Jigs

Dowels add alignment and strength with accessible tools. A store-bought jig or careful homemade guide ensures straight, centered holes in legs and aprons. The result is repeatable placement, reliable squareness, and confidence that keeps your build calm and enjoyable.

Mortises the Easy Way: Loose Tenons

Loose tenons give you classic mortise‑and‑tenon strength with beginner-friendly steps. Cut matching mortises with a plunge router or drill-and-chisel method, then insert a pre-made tenon. You get superior racking resistance, alignment help, and forgiving assembly windows compared to tight traditional shoulders.

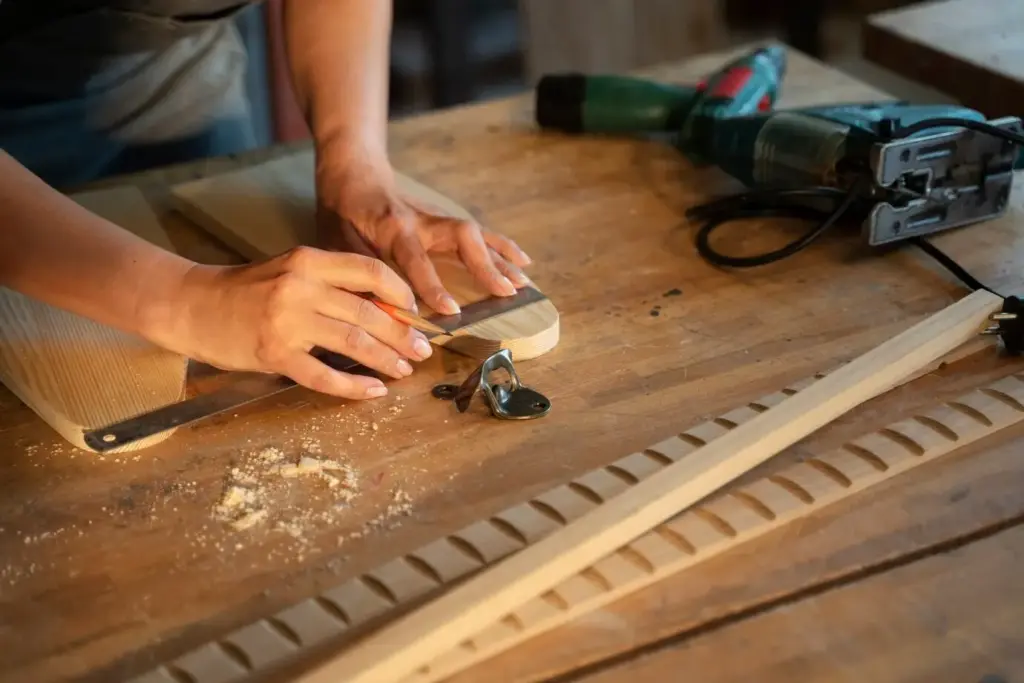
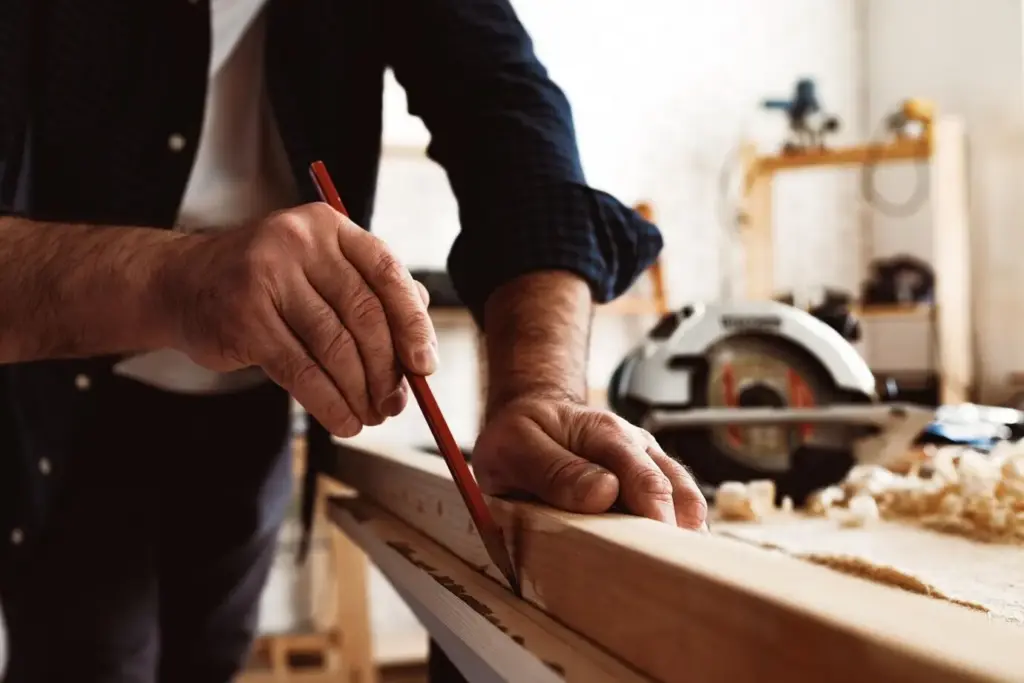
Marking That Guarantees Symmetry

Use centerlines across legs and aprons so paired mortises mirror perfectly. Knife walls reduce wandering, while reference arrows show orientation during glue-up. Once both sides share identical markings, the base dry-fits square almost automatically, saving time, nerves, and sanding later.

Router Safety and Depth Control

Set plunge depth with stops and confirm with a marked scrap. Keep both hands on the base, start the router on the work, and feed steadily. Multiple shallow passes stay cooler, cut cleaner, and reduce kickback risk while producing crisp mortise walls ready for glue.

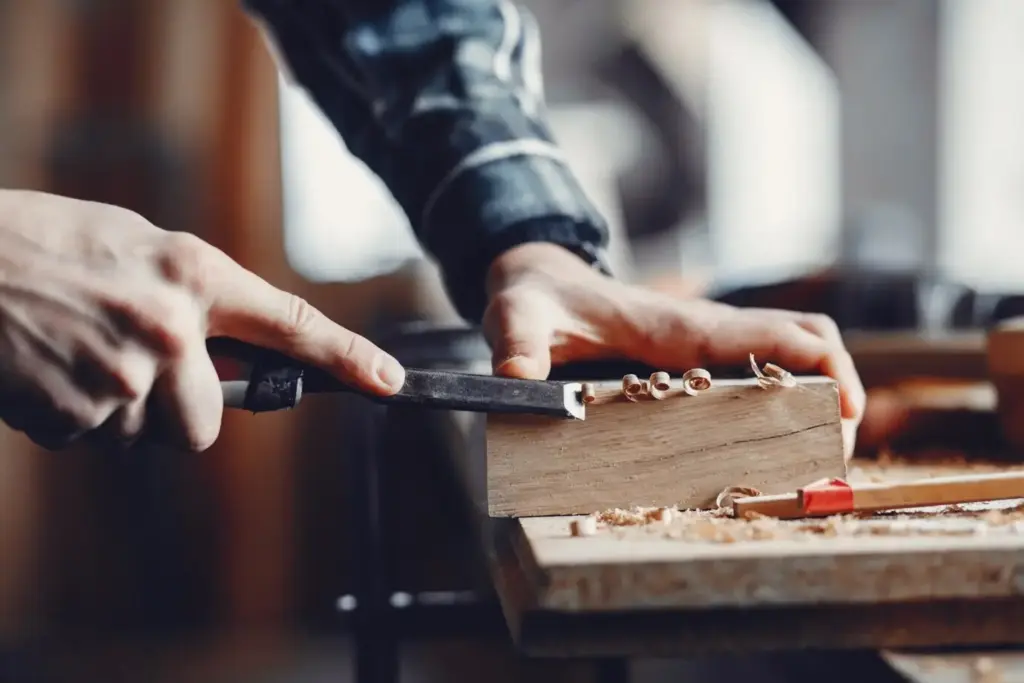
Shaping and Sizing Loose Tenons

Plane or sand hardwood strips to a snug, slip fit that seats by hand with light resistance. Round over edges to match bit radius, then prefinish tenons lightly to ease cleanup. Uniform thickness ensures predictable clamping pressure and joints that cure reliably strong.

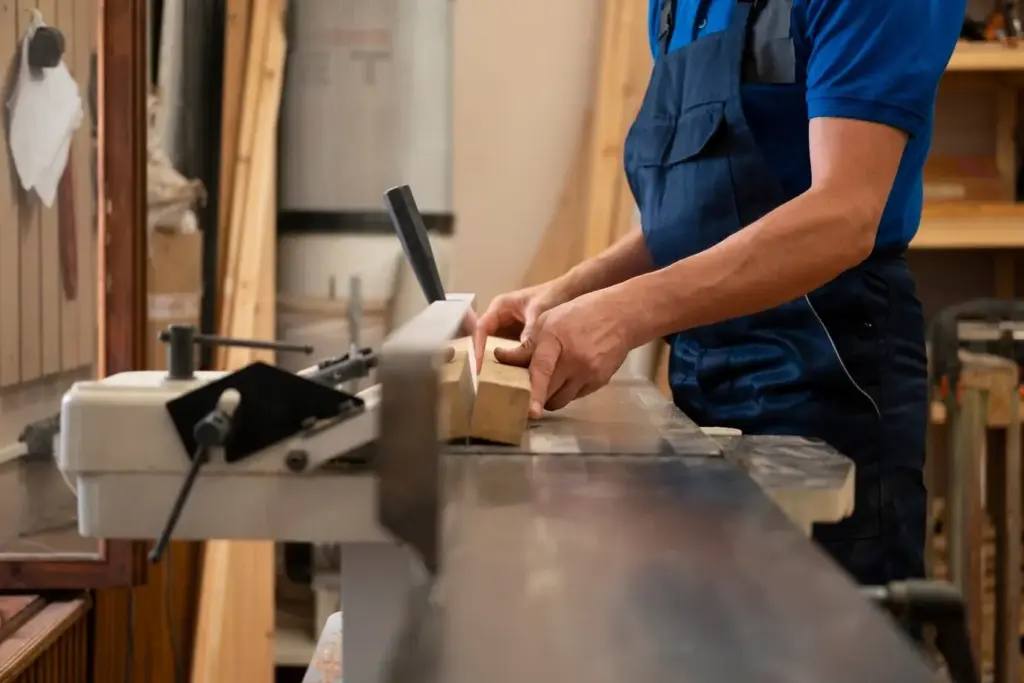
Straight, Flat, and Square Surfaces

Great joints begin with reference surfaces you can trust. Check flatness with winding sticks, square with a reliable try square, and straightness against a light. Correcting minor issues upfront multiplies accuracy across the base and top, letting glue joints close effortlessly and predictably.

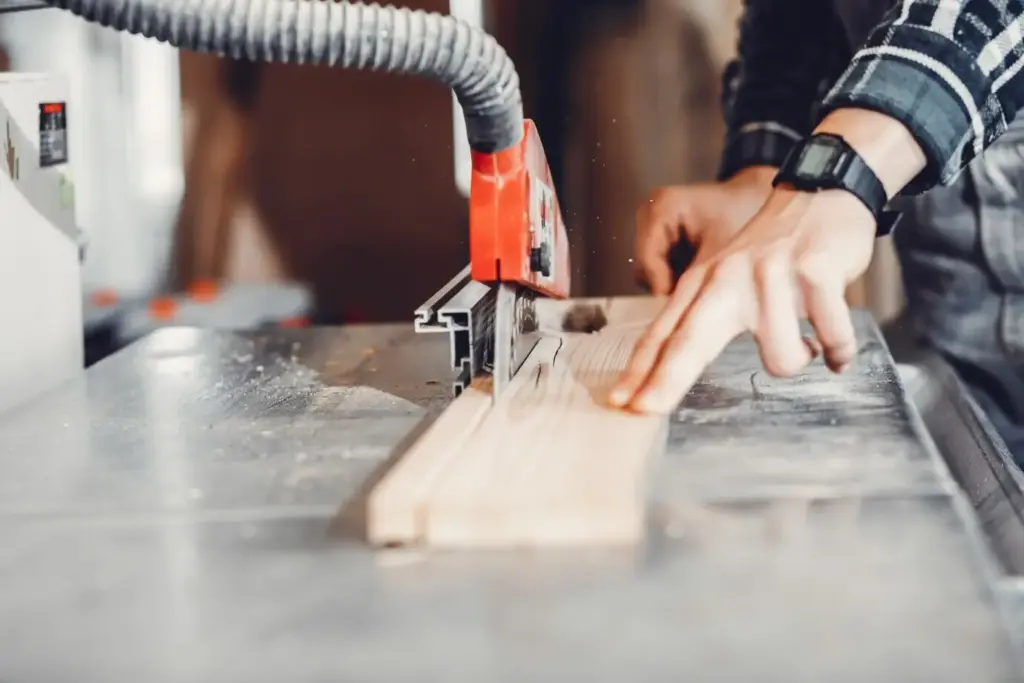
Cutting Laps with Hand Saw or Sled

Use a crosscut sled or a careful knife line and hand saw to define shoulders, then remove waste in passes. Test-fit often. Even a modest half-lap can stiffen a coffee table frame dramatically, calming wobbles and transforming the build’s overall feel and confidence.

Panel Glue-Ups That Stay Flat

Alternate growth ring direction when edge-joining boards, and use cauls wrapped in tape to hold the surface even. Light clamp pressure, consistent sticker spacing, and swift cleanup of squeeze-out deliver panels that require minimal flattening before finish and hardware installation.

Bridle, Half-Lap, and Edge Joints for Tops

Simple joinery can be decorative and sturdy. Bridle joints showcase clean shoulders at leg connections, half-laps tame stretchers without extra hardware, and careful edge-gluing creates smooth, stable panels. With patient layout and sharp tools, beginners achieve crisp geometry that feels intentionally refined.

Finishing Touches and Long-Term Stability

A beautiful coffee table stays stable through seasons when the top can expand and contract. Use figure-eight fasteners or slotted holes, ease edges for comfort, and choose durable finishes. We’ll close with maintenance habits and ways to share your progress with our community.
Zofarerexeni
Privacy Overview

This website uses cookies so that we can provide you with the best user experience possible. Cookie information is stored in your browser and performs functions such as recognising you when you return to our website and helping our team to understand which sections of the website you find most interesting and useful.